Hi Friends!
I don’t know about you but with all this time at home I’ve been itching to make some changes, updates, and some serious purging to my decor… I can’t be alone in this, right?! There are some great Designer DIY tricks out there that all designers use. As a designer I find so many ways to create something beautiful in spaces I work with. But what about when you have a piece you love but it’s, well, a hideous color that’s super dated? That’s where a design eye comes in handy and I’m here to give you that little “angel on the shoulder” whisper to get you where you want to go!
Use these to spruce up tired furniture, or add that eye catching piece you never thought you could pull off. I put together a little shopping list for all of you go getters out there trying to add a little DIY spice to your home for Summer! Will it look DIY? Heck no!! Will it look like a designer helped you create something magical? DUH! Here we goooo!!!
Pillow Covers DIY…
Lets start with something basic, pillows! I love throw pillows because they add texture, color, and pattern to any space… with that said sometimes you can’t find a pillow that has the “look” you’re going for. What do you do? Run to Home Goods and pray to the pillow gods for luck? Nope! Instead, find a fabric you love and put in a little extra effort for that perfect plush pillow!
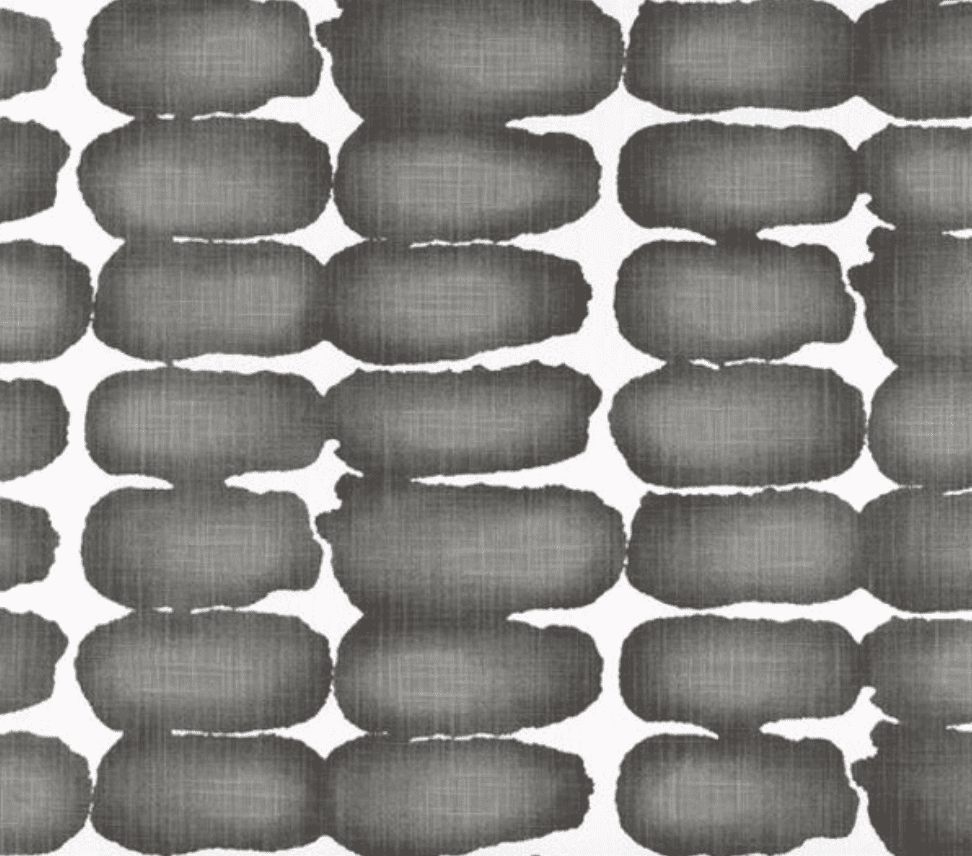
You can find some really great fabric at Joannes, your local fabric store, OR you can go on Etsy and find something extra special! I’ve included some great fabric options I found on Etsy that I adore… either way, pick something you LOVE! You’ll need about 1/2 a yard for 16″x16″ and about a yard for a 22″x22″
Design Tip: Remember to check your fabric against a picture of your room to make sure they look good together! If you need a little help on how to mix and match patterns we’ve got a blog article to help you! Click here and don’t stress!
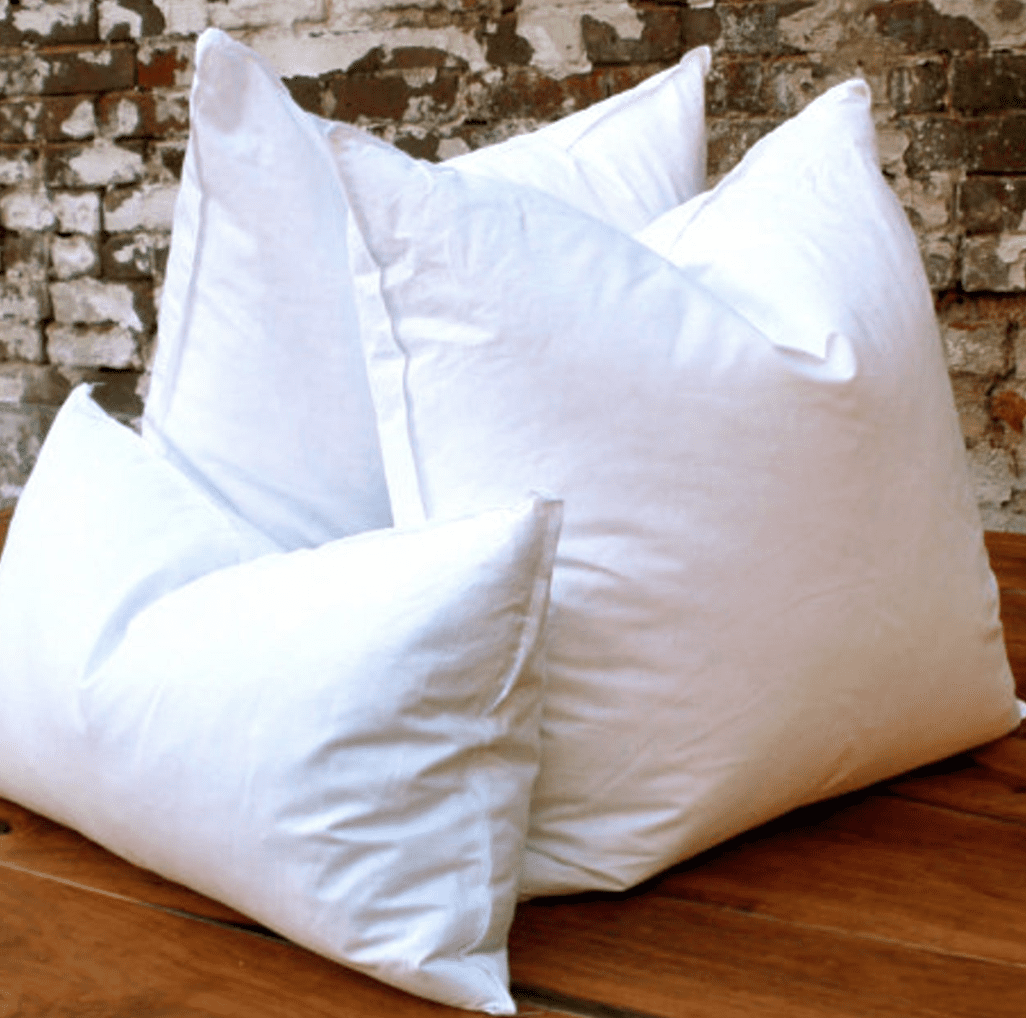
Now all that’s left is to buy an insert for your pillow sham. From my experience I find down inserts are the best and I buy my insert a size up from what the sham is to make sure that the pillow looks properly stuffed. (ie if you have a 16″x16″ pillow sham you get an 18″x18″ down insert)
Here’s a great video on how to DIY that pretty plush pillow you’ve been longing for… (or just find an upholsterer, throw some fabric at them, and they’ll do it for you!)
Want more tips on how to create the perfect DIY pillow? Click here for a more in-depth dive into DIY Pillow making and how to pick the perfect fabric!
Reupholstery Furniture DIY…
All right, we’ve graduated from pillows and now we’re on to furniture! Wow you’re a fast learner! You’ve mastered pillows and now you want more of a statement piece in your new and improved (almost) space. Upcycling an existing piece of furniture is cost effective but it can also be a huge time saver!
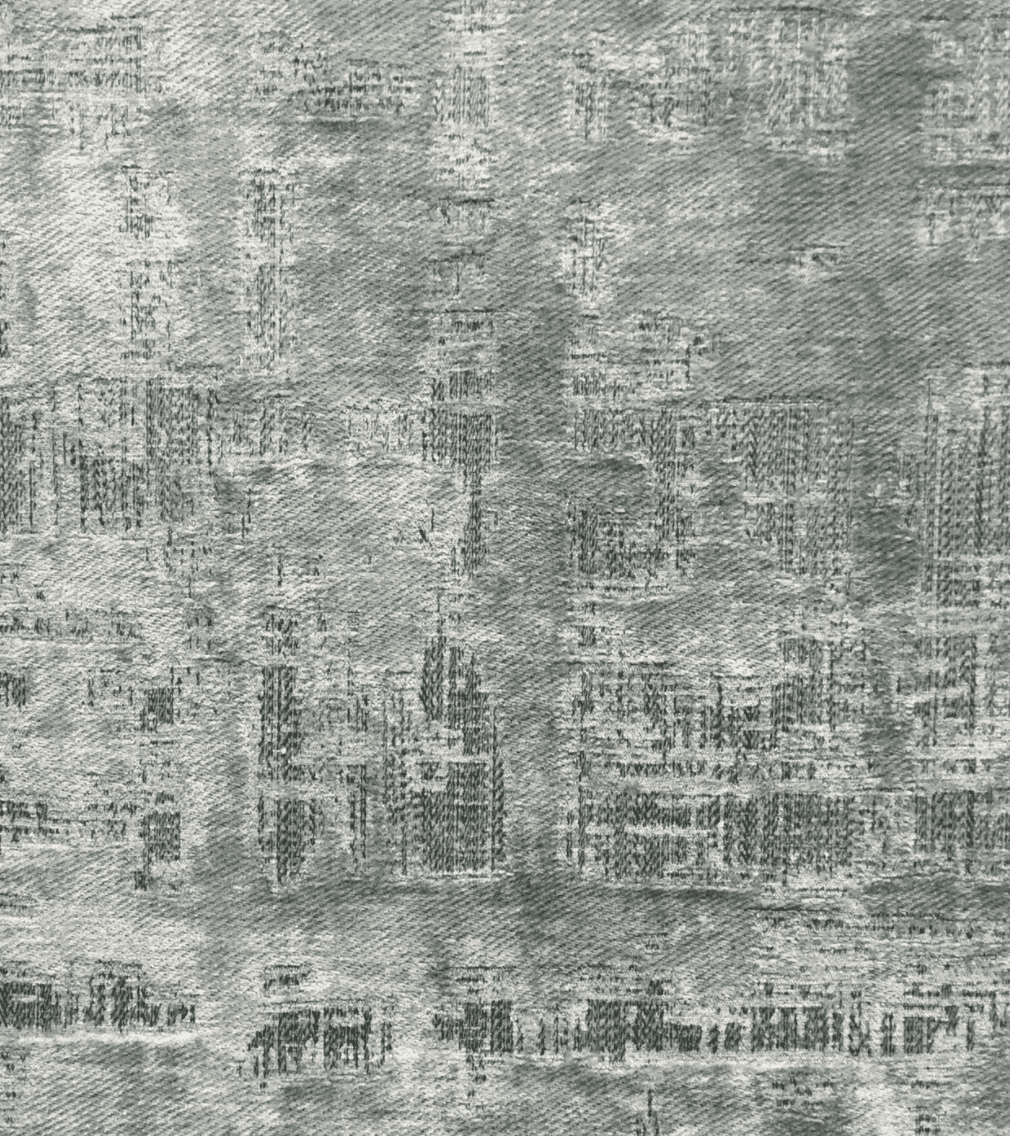
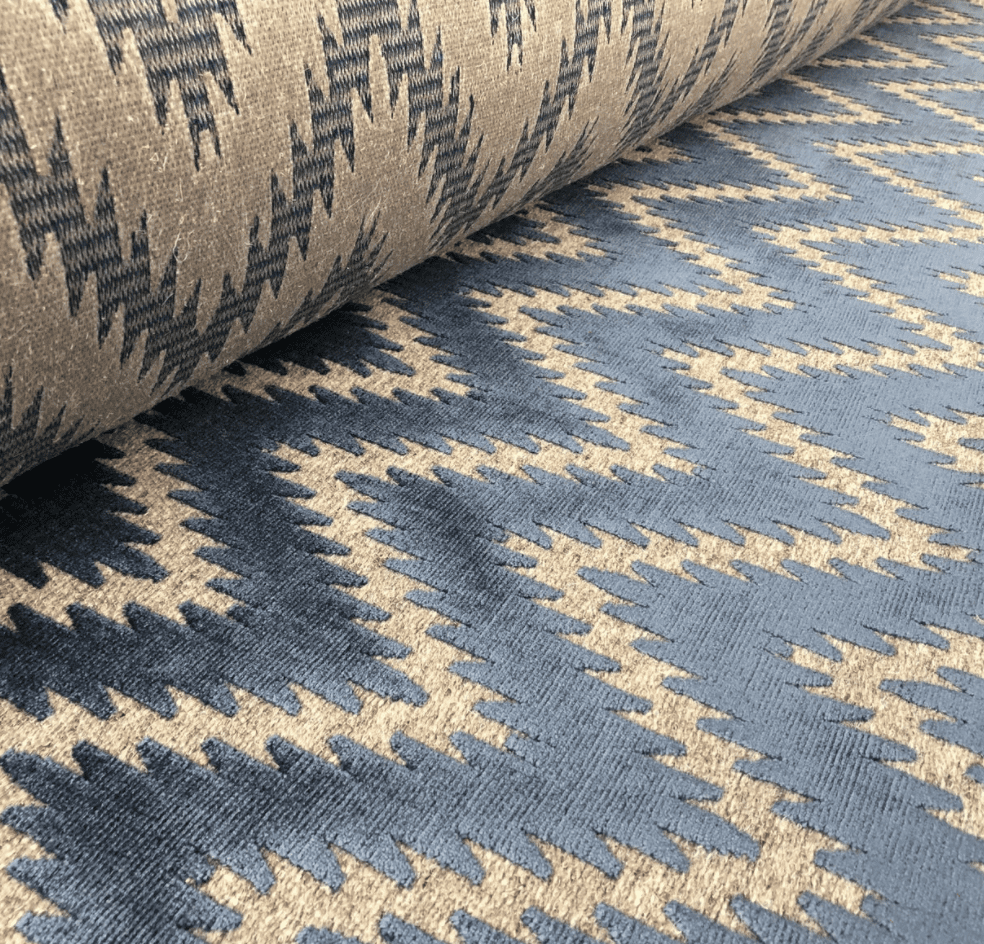
Lets say you want to reupholster that statement chair in your living room… great idea! That fabric is worn, the stains wont come out from that wine spill at Thanksgiving, and the color is really bringing you down. Totally understand! First step, pick an amazing fabric! I’ve included some great fabrics that I’m drawn to from Etsy to give you some ideas/inspiration.
Design Tip: If this seems a little overwhelming not to worry! Remember that upholsterer that I said could make your pillows? Yeah, they’re really good at furniture too! Pick that fabric, ask the upholsterer how much you need, and hand that sweet baby over to the professionals while you have a glass of wine… ahhhh DIY’s can be so easy!
Next I’ve included a video tutorial that will help you do it yourselfers get this project finished!
How to Spray Paint a Lamp DIY…
Alright, let’s say you’ve moved on from the fabric world and now you’re looking into hard surfaces. Something you might not have thought of to DIY, but is one of the easiest projects to start with, is a lamp! If the shape of your lamp is great but the color is crazy you’ve got a diamond in the rough!
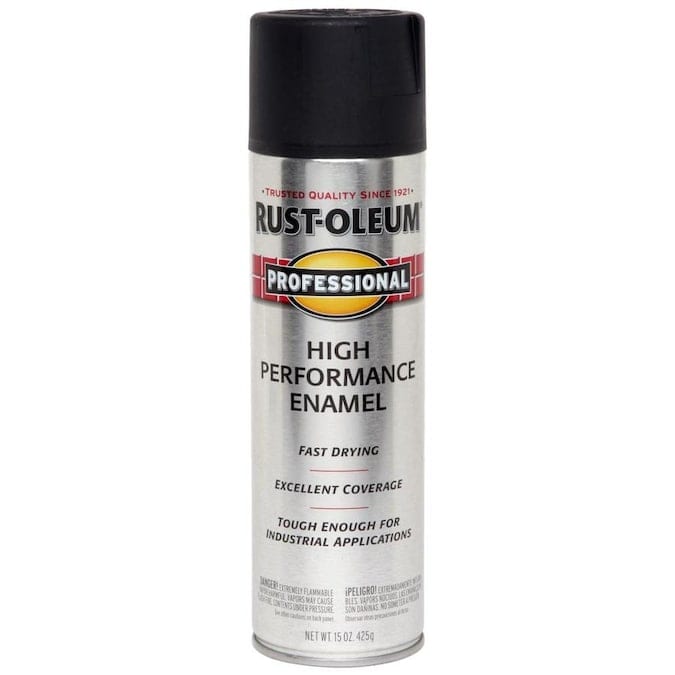
First, decide what color you want to paint it. I tend to lean towards neutrals like whites, blacks, and metal colors. Pick your poison, buy a can of spray paint from Lowe’s (I like Rust-Oleum), and start spraying that lamp!
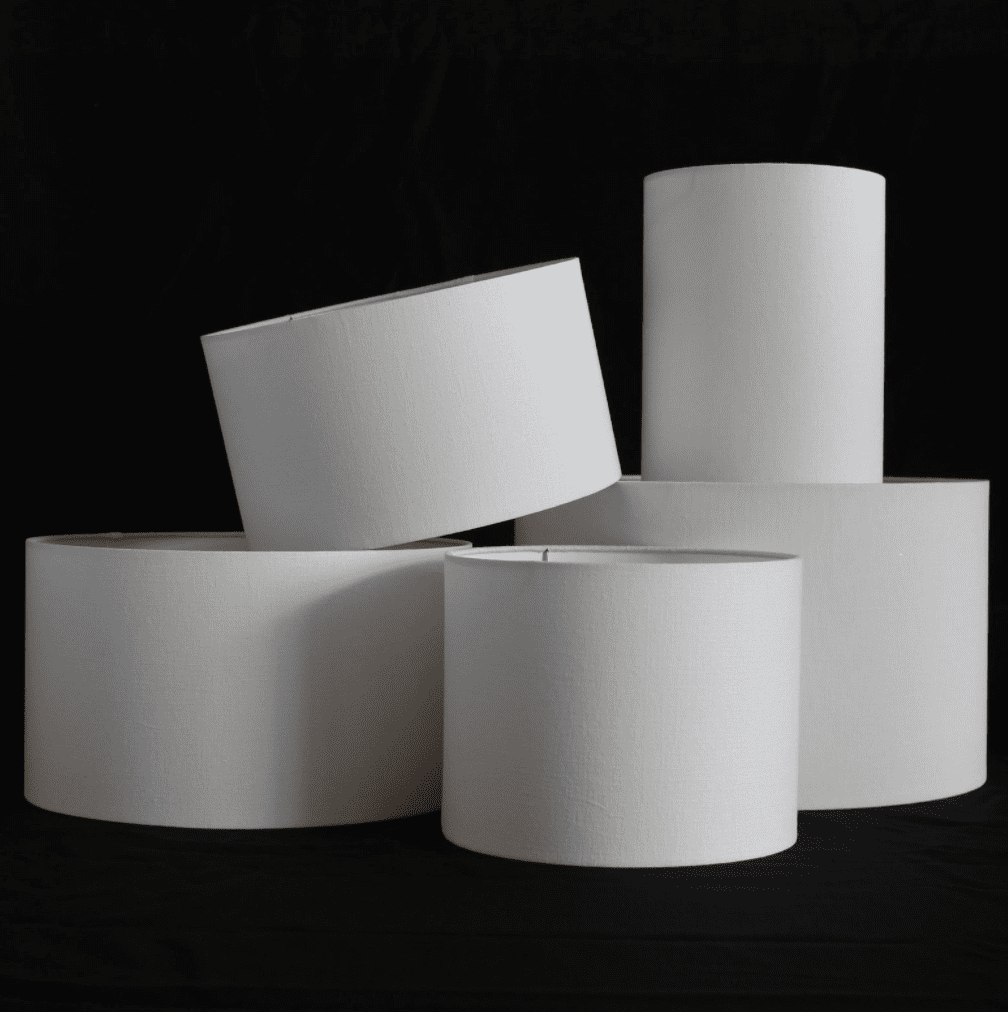
Design Tip: Updating the shade will have a huge impact too! I like to use a drum shade in a white or cream. Another hint, make sure you look at how the drum shade is attached and buy accordingly (look for finial/harp fitter).
The basic idea is you spray a few thin layers on your lamp, spray, dry, spray, dry, you get the idea. After that the shade is like the cherry on top, it takes that nightmare 80’s lamp with the triangle shade, to beautiful, chic light fixture your friends will love!
Of course I’ve included an instructional video for this too (I’ve got you)!
How to Paint Furniture DIY…
Here’s the big boy of DIY’s, painting furniture… Alright, this is where the tough get going and the going gets, ummm, painted? Whatever, we’re painting that hideously colored bookcase your Grandma gave you!
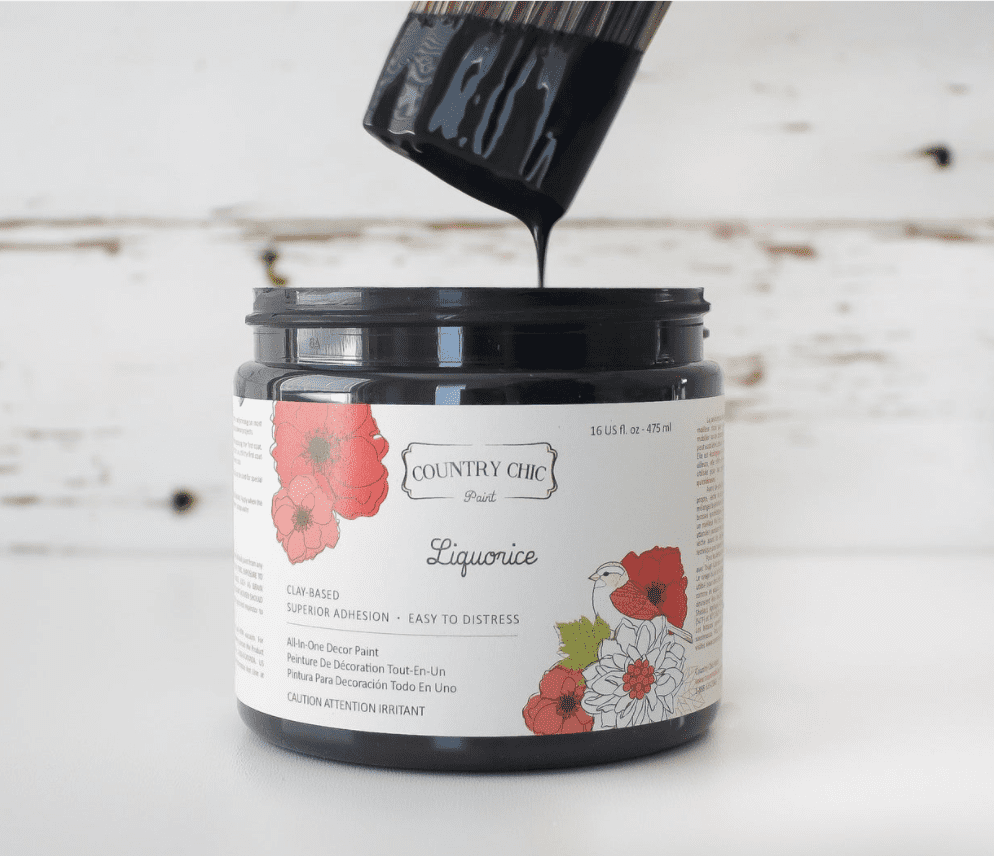
Again, picking a paint color is an important part. Neutrals are good but also, with bigger pieces, sometimes it’s fun to take a risk. That piece can go from an eye sore to the focal point with just a few coats of paint!
Design Tip: I tend to use white or black when painting a piece of furniture. It makes it neutral, updated, and sleek and I’m able to add it into any room without having to change up the decor too much. Easy peasy!
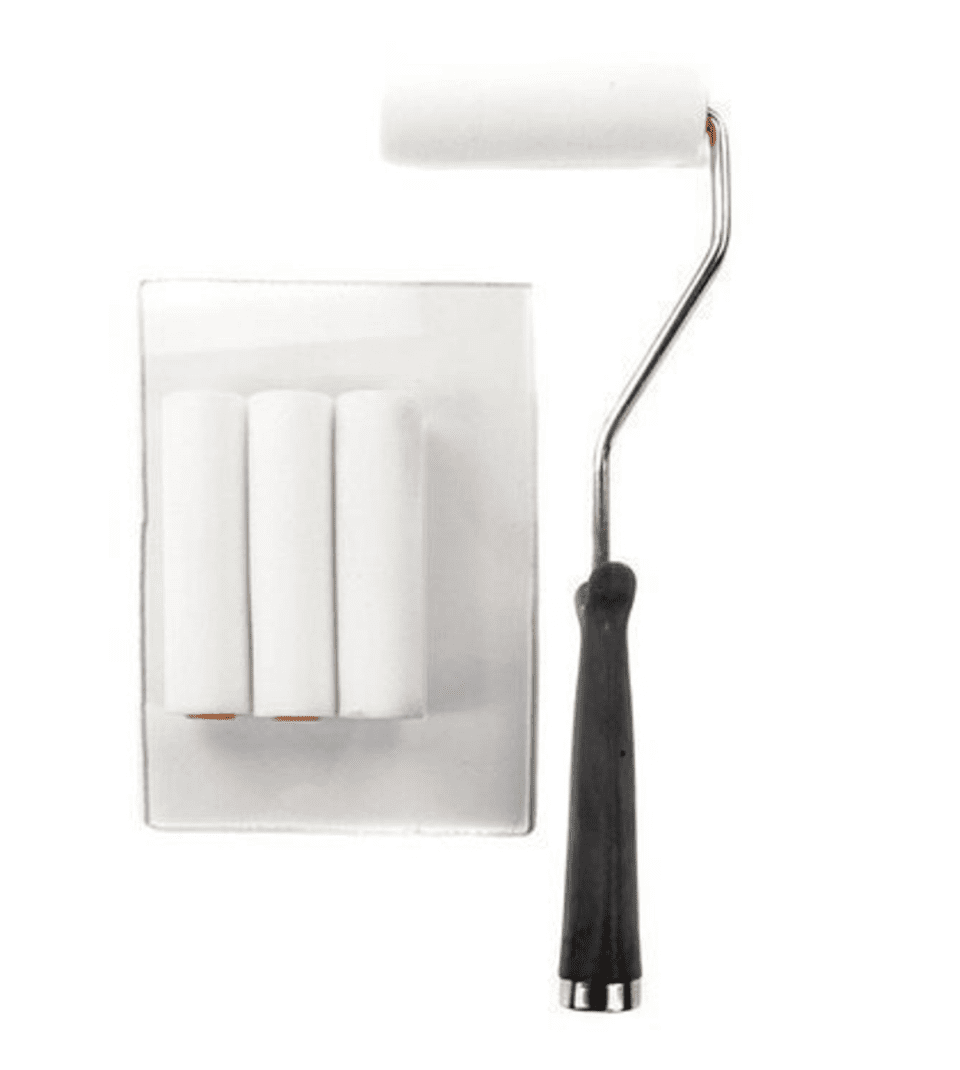
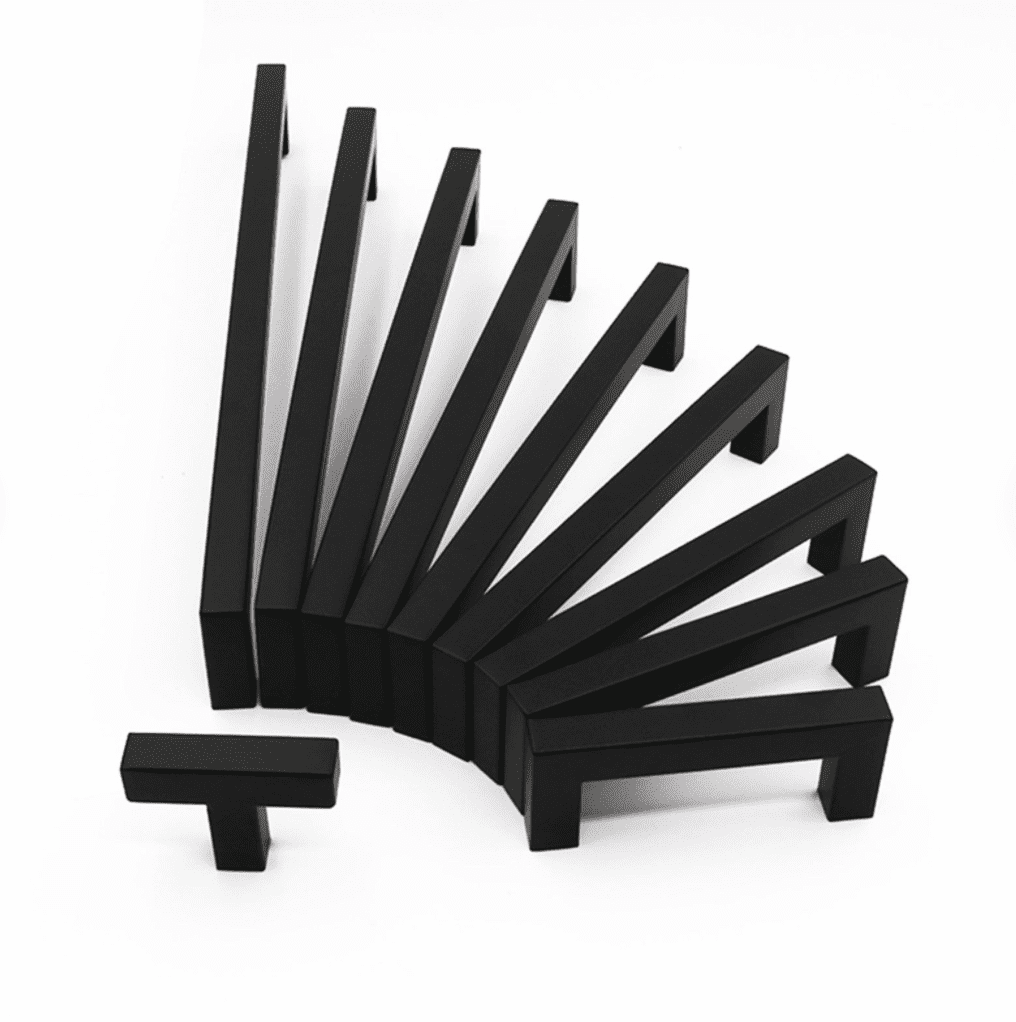
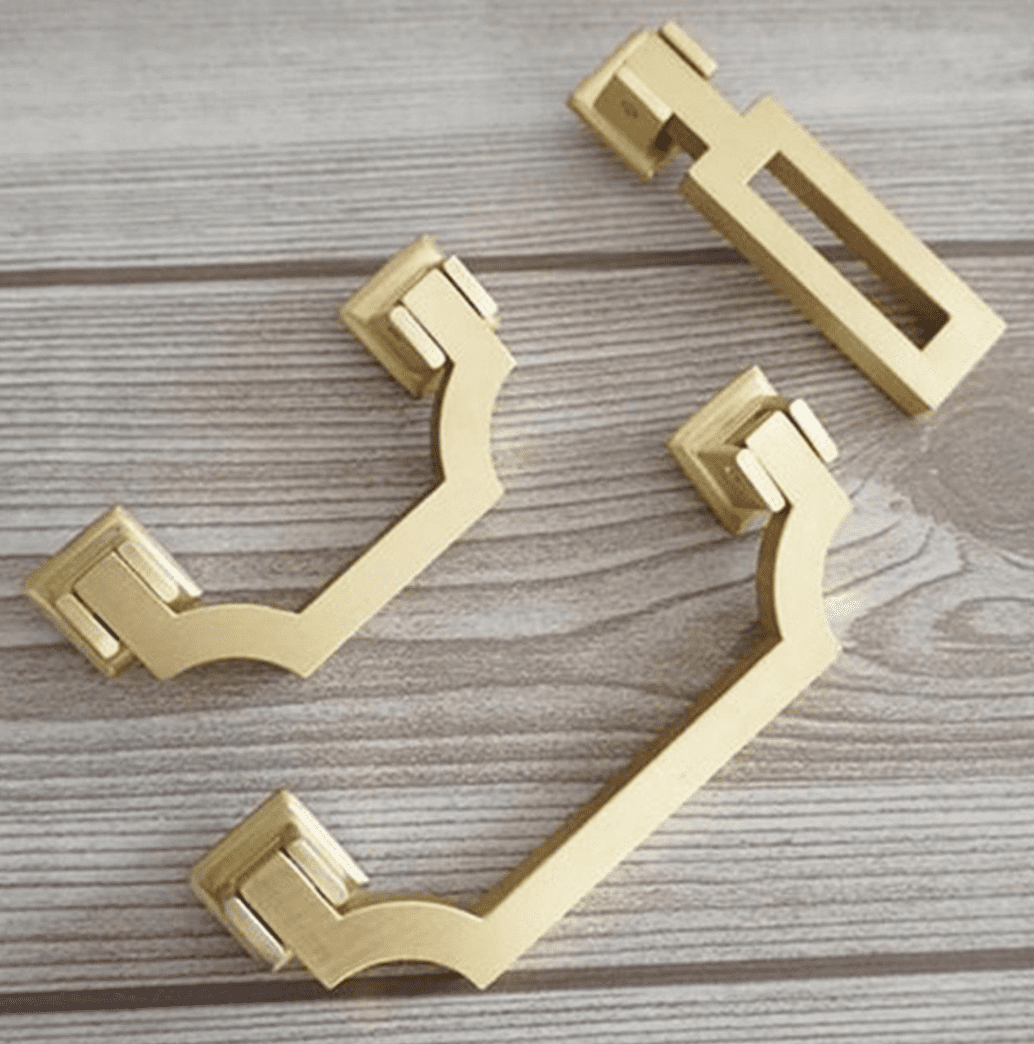
Before we get to the glory moment we need some things; primer, paint, drop cloth, foam rollers (for the furniture not your muscles), finish/sealant, and NEW HARDWARE!!! New hardware can make a huge difference in updating a piece of furniture, so I’ve included some of my favorite pulls from Etsy.
Design Tip: When choosing pulls make sure that it matches the aesthetic of your existing decor. Aka, if you have a classic vibe in your home try not to choose a pull that’s too modern. The piece will look out of place. The point is to make an old piece of furniture fit your new decor, remember, you can do this!
Here’s an easy to follow tutorial to get you through the process, happy painting!
Abstract Canvas Art DIY…
Lastly, the finer things in life… art. Furniture is there for use, but art speaks to the heart. No, that’s not a quote, at least I don’t think so…. but you know what I mean. Art is amazing! It’s the cherry on top, the sprinkles on the cupcake, it’s that little something extra that pulls a room together. And you can do that little something extra at home!
Yes you! Sure you aren’t able to draw worth diddly, and you’re pretty sure your grade school art teacher didn’t actually want to post your picture in the hallway with everyone else’s… but this is ABSTRACT art! Which means, you can be a terrible artist and still make something awesome! All you need is a palette knife (no it’s not actually a sharp knife), some acrylic paint, and a blank canvas (hit up Michael’s for some great options to choose the right size)!
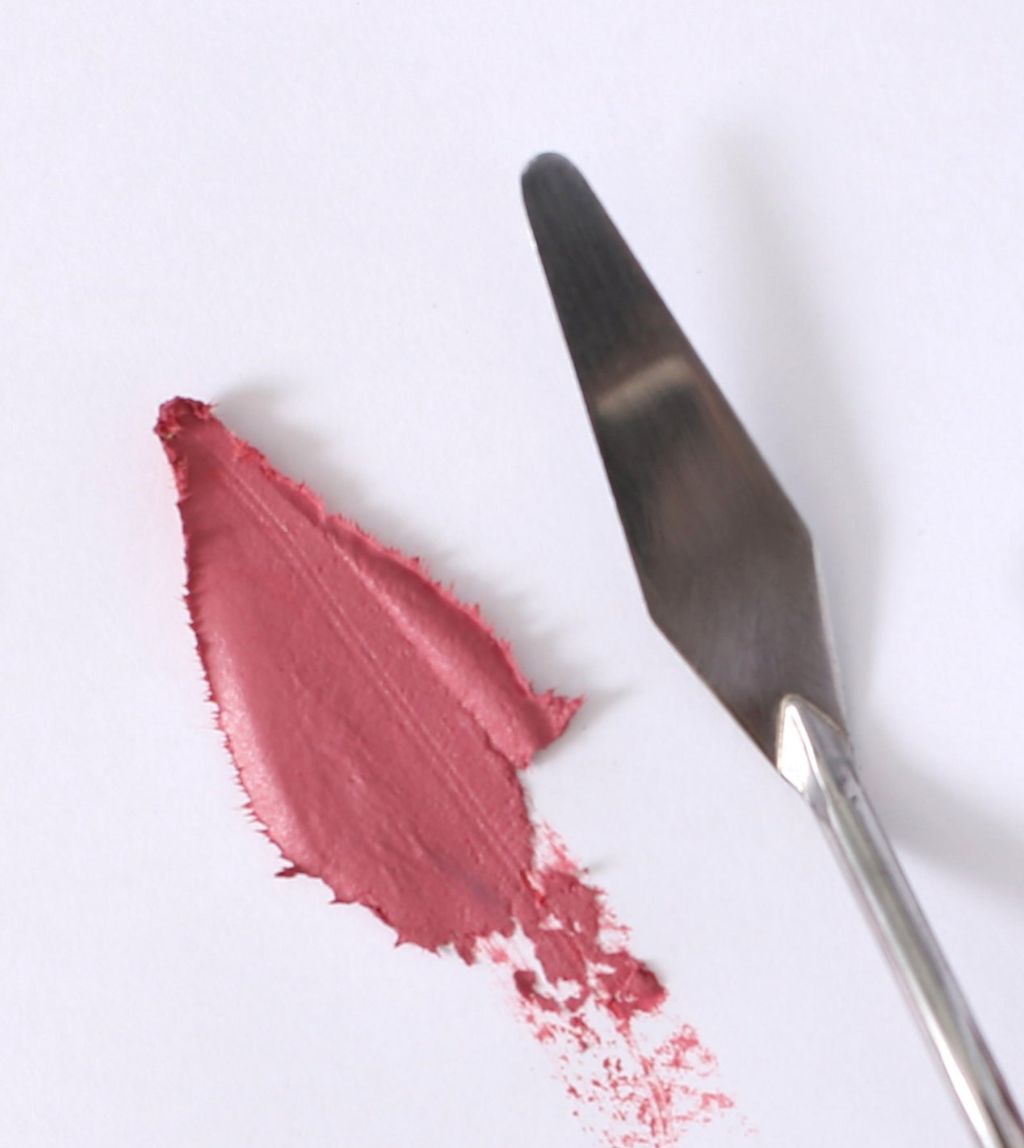
Etsy – Palette Knife 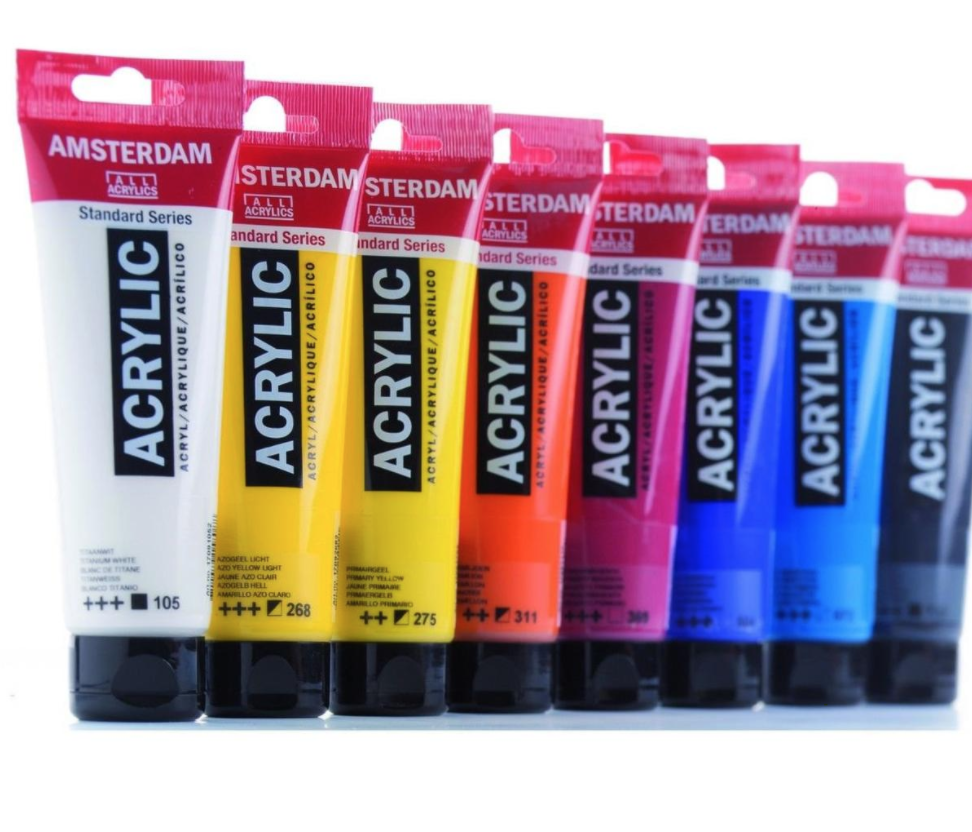
Etsy – Acrylic Paint
Here’s a tutorial you can watch (while you have a drink) and all you’re doing is pushing around some paint on a canvas, and then voila! It’s freaking awesome!
As Bugs Bunny Says, That’s All Folks!
I hope this inspired you to give your home that boost it needed to get you through the rest of your year! And remember, if all else fails, just watch HGTV (with a glass of wine) and pretend you’re living in Chip and Joanna’s latest Fixer Upper! Just joking, you’re a boss and you’ve totally got this!!
