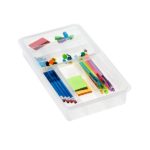
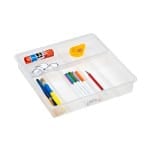
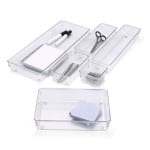
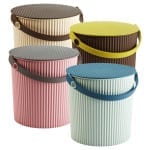
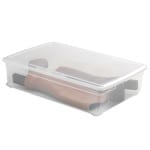
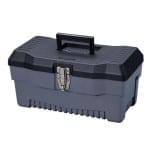
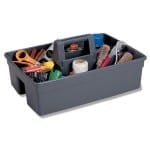
This is not a lecture about how you must be organized, or how you must have a super, streamlined efficient home. You probably have a mother or mother-in-law to point that failing out to you! But if you are the proud owner of a junk drawer, I’m here to help. Many of us have these little drawers in our home that simply fill with stuff. Stuff we have no other place to put. So annoying. Many years ago, after reading several organizational books to contain my creative personality, I created:
The Useful Drawer: No more junk drawer… totally useful!
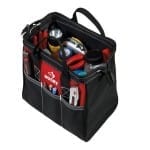
When I did this, I lived in a three story home a full of kids! I created this drawer: one per floor. Main floor Useful Drawer was in the kitchen, of course. Our basement useful drawer was actually a toolbox stored in the laundry room, and upstairs was the top drawer in the hall chest. I used the following method for EACH location.
- First things first: plan for a successful implementation: Set aside about an hour to complete. Grab a garbage can.
- Pick your receptacle. The drawer is obvious, but depending on it’s final location might dictate some other sort of container: box/tub/toolbox/cupboard
- Clean it: wipe it down so you’re starting fresh and clean. Trust me… you’ll be more motivated to keep it up if it starts clean!
- Organize it: depending on your budget and the items you’re going to include, you’ll want to have some sort of system inside the drawer to keep it tidy and organized.(professional organizer hint: Purchase a roll of Velcro® tape and place small squares of the tape on the bottom of the drawer and the drawer organizers. (Yowza!) No more drawer organizers sliding around.)
- Assemble it: Lay out the configuration of your containers and items. Make sure what is frequently used is at the front of the drawer, and less used items at the back.
(My personal favorite location for all things organized? The Container Store!)
(No drawer, but you love the concept?? Visit your local home improvement store…in this case The Home Depot
What goes into the useful drawer? Here’s my list, but you should tweak yours according to your family’s needs. Because I like this to LOOK good as well as be functional, I made my list first, filled with supplies I had at home, then shopped. A great bit of advice from my sister lead to dumping all old pens & pencils and bought new, matched and WORKING writing utensils! This was incredibly freeing AND a timesaver! No testing pens:).
- tape
- scissors/coupon cutter
- paper clips/rubber bands/alligator clips
- thumb tacks
- convertible screw driver
- small hammer
- picture nails and hooks (’cause I’m always hanging and re-hanging artwork!)
- thumbtacks/tack stick/glue
- post it notes (although I’ve since sworn off of these!)
- pens/pencils/highlighter
- small assortment of batteries (think about ALL those remote controls!! I buy AA’s in bulk)
The beauty of these drawers is the ease of finding what you need quickly AND being able to get it back there quickly to find it again! One final organizing hint? We’ll willingly spend more time searching for something we need, than time spent putting things away. Always make things easier to put away than to take out!
